HealthieOne Complete Instructions for Tasso Device
Simple and painless, just follow the steps carefully.

Place both provided cold packs in a freezer for a minimum of 12 hours prior to collecting blood.
Keep the two clear elastic bands.

Create your account and register your kit at HealthieOne.com anytime before blood collection: takes less than 10 minutes.

Collect your blood Monday through Wednesday only and ensure that the day of and the day after collection are not holidays.

Fast for at least 10 hours overnight prior to collecting your blood.
No food or beverage but do drink water.
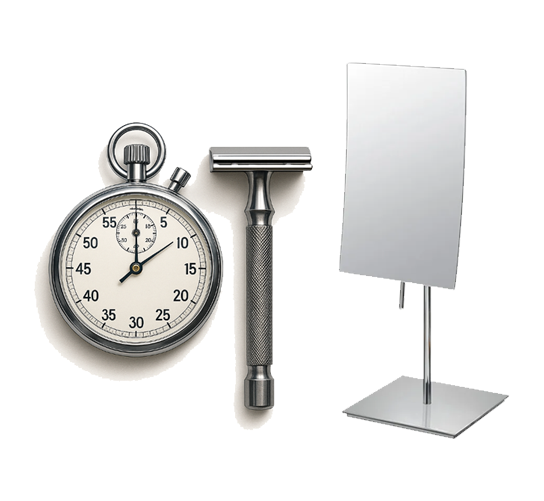
Get additional items needed, not included in the kit: timer, mirror and razor.

Please read all instructions before collecting your blood.

Need Help?Connect with us through Live Chat for instant assistance from our team.

In the morning, after fasting for 10 hours (no food or beverage, but do drink water), get started by washing your hands.

Device will be placed on upper arm. If needed, remove excess hair on upper arm (razor not included).

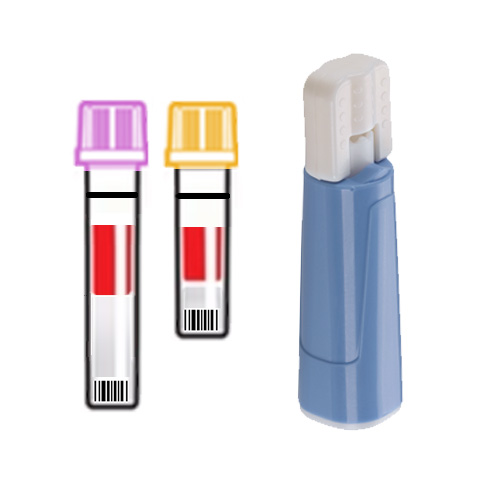
Remove the device from its sealed cover.

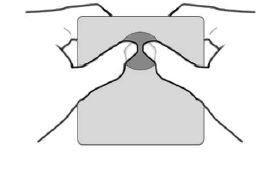
Twist off and pull off the cap from the taller pink tube.
Note: you will repeat these steps with the gold tube later.

Press tube into device firmly until snug.
Bend metal disc back and forth in the heat pack to activate it.
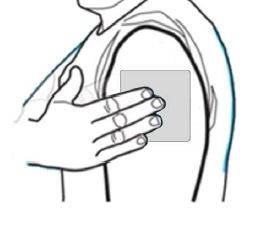
Press heat pack on upper arm for 4 minutes to warm and increase blood flow.

Clean upper arm with alcohol pad and allow to dry.

Peel off the wrapper and backing to expose the adhesive side of the band-aid, and place it within reach, adhesive side up.
Important: Do not press the red button on the device until step 12.

Peel back cover and stick the device to alcohol-cleaned area.

Remove device clear cover to expose the red button.

FIRMLY press red button all the way down ONCE and release. An audible click will be heard.
Immediately tap tube with pen continuously to stimulate blood flow.
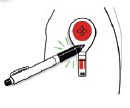
Set timer for 5 minutes. Blood may take a minute to start flowing.
Continue tapping the device (not the tube) with pen while periodically checking that the tube stays firmly attached.

Remove device at 5 minutes or sooner if blood reaches the top line on the tube.
Do not overfill.
Use the mirror to see.

Place band-aid on blood collection site.

Remove tube from device with a slight twist and pull down.

Snap cap fully onto tube until an audible click is heard.

Invert tube 10 times.
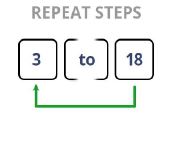
Repeat steps 3 to 18 with the 2nd heat pack, 2nd device, and 2nd tube (gold cap) on your other upper arm.
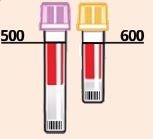
Make sure you have collected enough blood:
600 mark line on gold tube
500 mark line on taller pink tube.

Follow local guidelines for discarding used materials, and wash hands after use.
If you were not able to collect enough blood using the device, use the provided lancet as a backup method of collection (see step A).

Uncap any underfilled tube(s) and place into the holes on the provided paper sleeve.

Clean the middle or ring finger with a provided alcohol pad.

Twist off and discard lancet cap. DO NOT PULL.
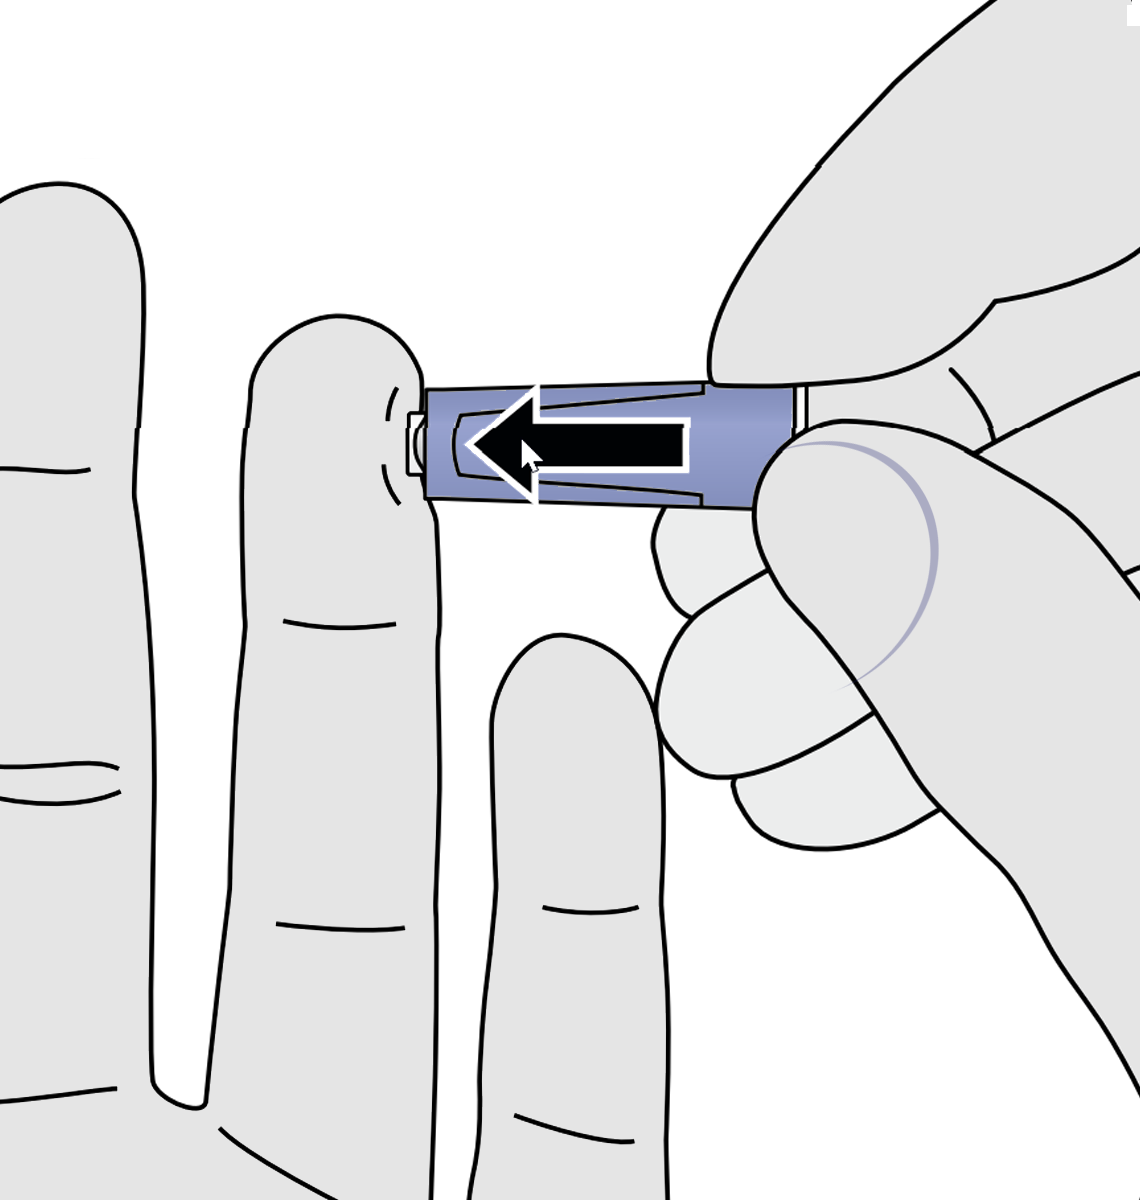
Firmly press lancet against alcohol-cleaned area until an audible click is heard.
Lancet will automatically retract inside.

Squeeze to form a blood drop, then touch it to the inner rim of the tube to fill it.

Make sure you have collected enough blood:
600 mark line on gold tube
500 mark line on taller pink tube.

Snap cap fully onto tube until an audible click is heard.

Invert tube 10 times.

Record collection time, date, your name, date of birth and contact info on return sample bag label.
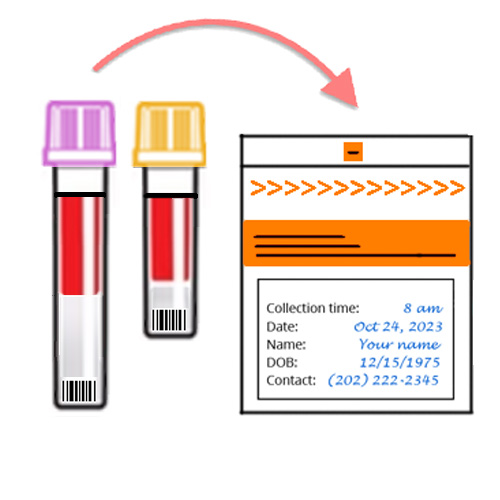
Place both tubes in the sample bag and press to seal. Leave absorbent pad inside the bag.
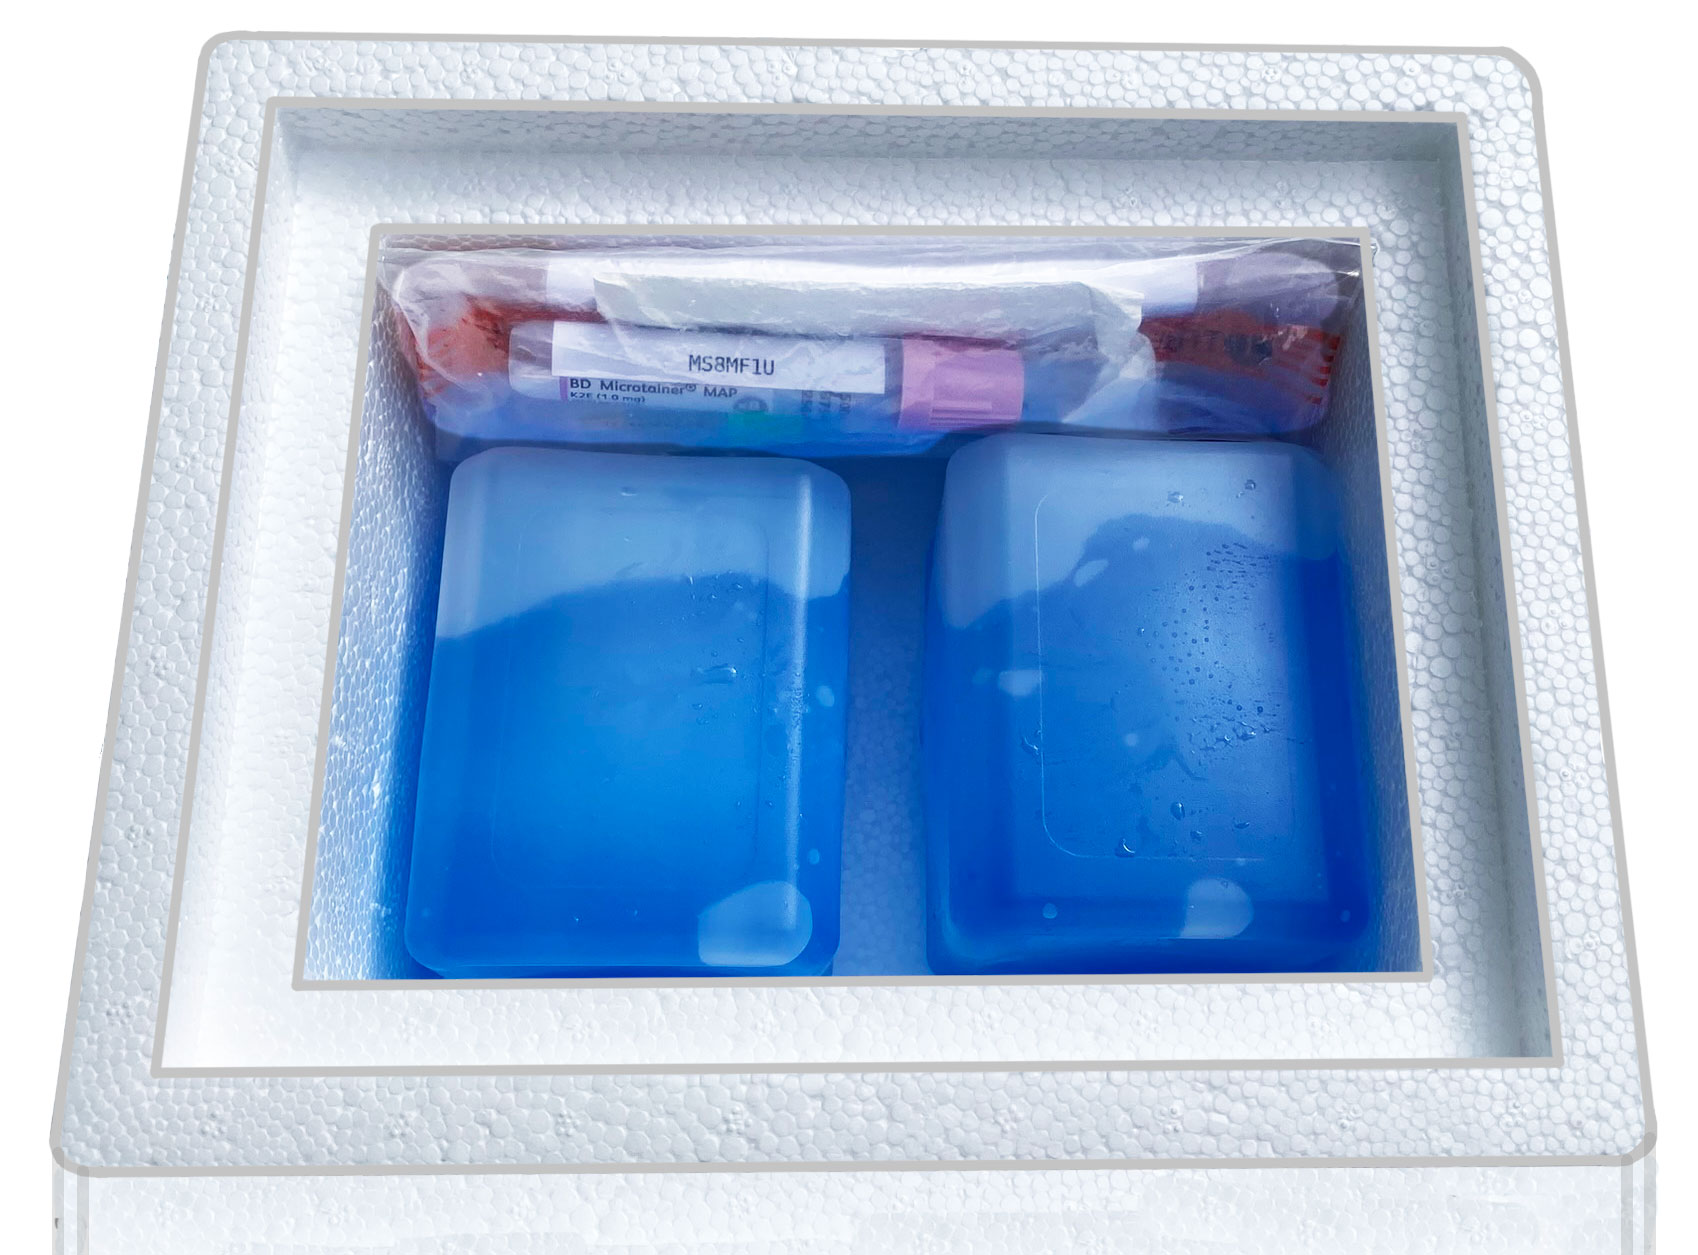
Place the sample bag containing the 2 tubes alongside the frozen cold packs inside the Styrofoam box, close box with its lid and secure lid with clear elastic bands.

Insert the closed Styrofoam box into the FedEx prepaid envelope and seal it.

Hand your package to a FedEx clerk at a FedEx Office or FedEx Ship Center only (not a FedEx Onsite or other FedEx drop-off points), before their cutoff time.